Fixing `unable to determine url for /Volumes/TimeCapsule in Apple Time Machine`
So far, macOS Catalina Beta has been a mixed bag of experiences. After critical crashes to the login screen on Beta 3, Beta 7 seems to be stable enough for daily use.
Catalina and Time Capsule: not yet ready for prime time
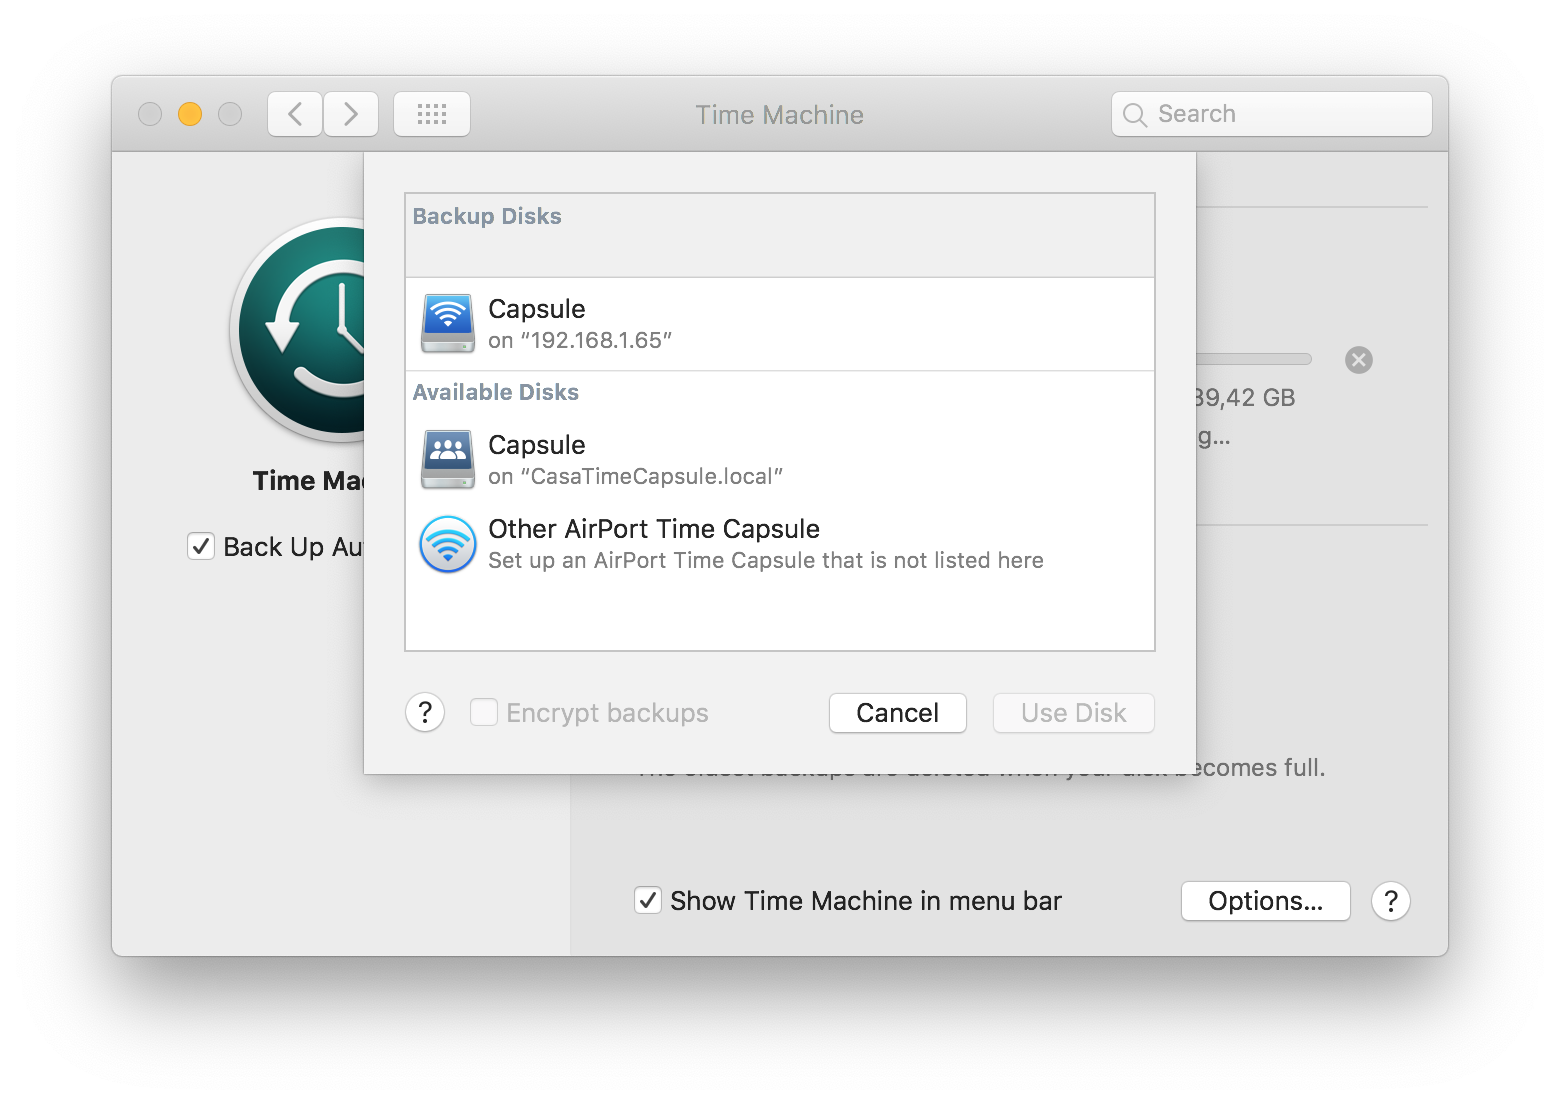
I just bought an Apple Time Capsule 2TB on eBay for automatic backups over Wi-Fi. However, I would get a strange error when setting up the disk in Time Machine preferences:
Internal error - failed to obtain url for “/Volumes/TimeCapsule”
Step by step solution
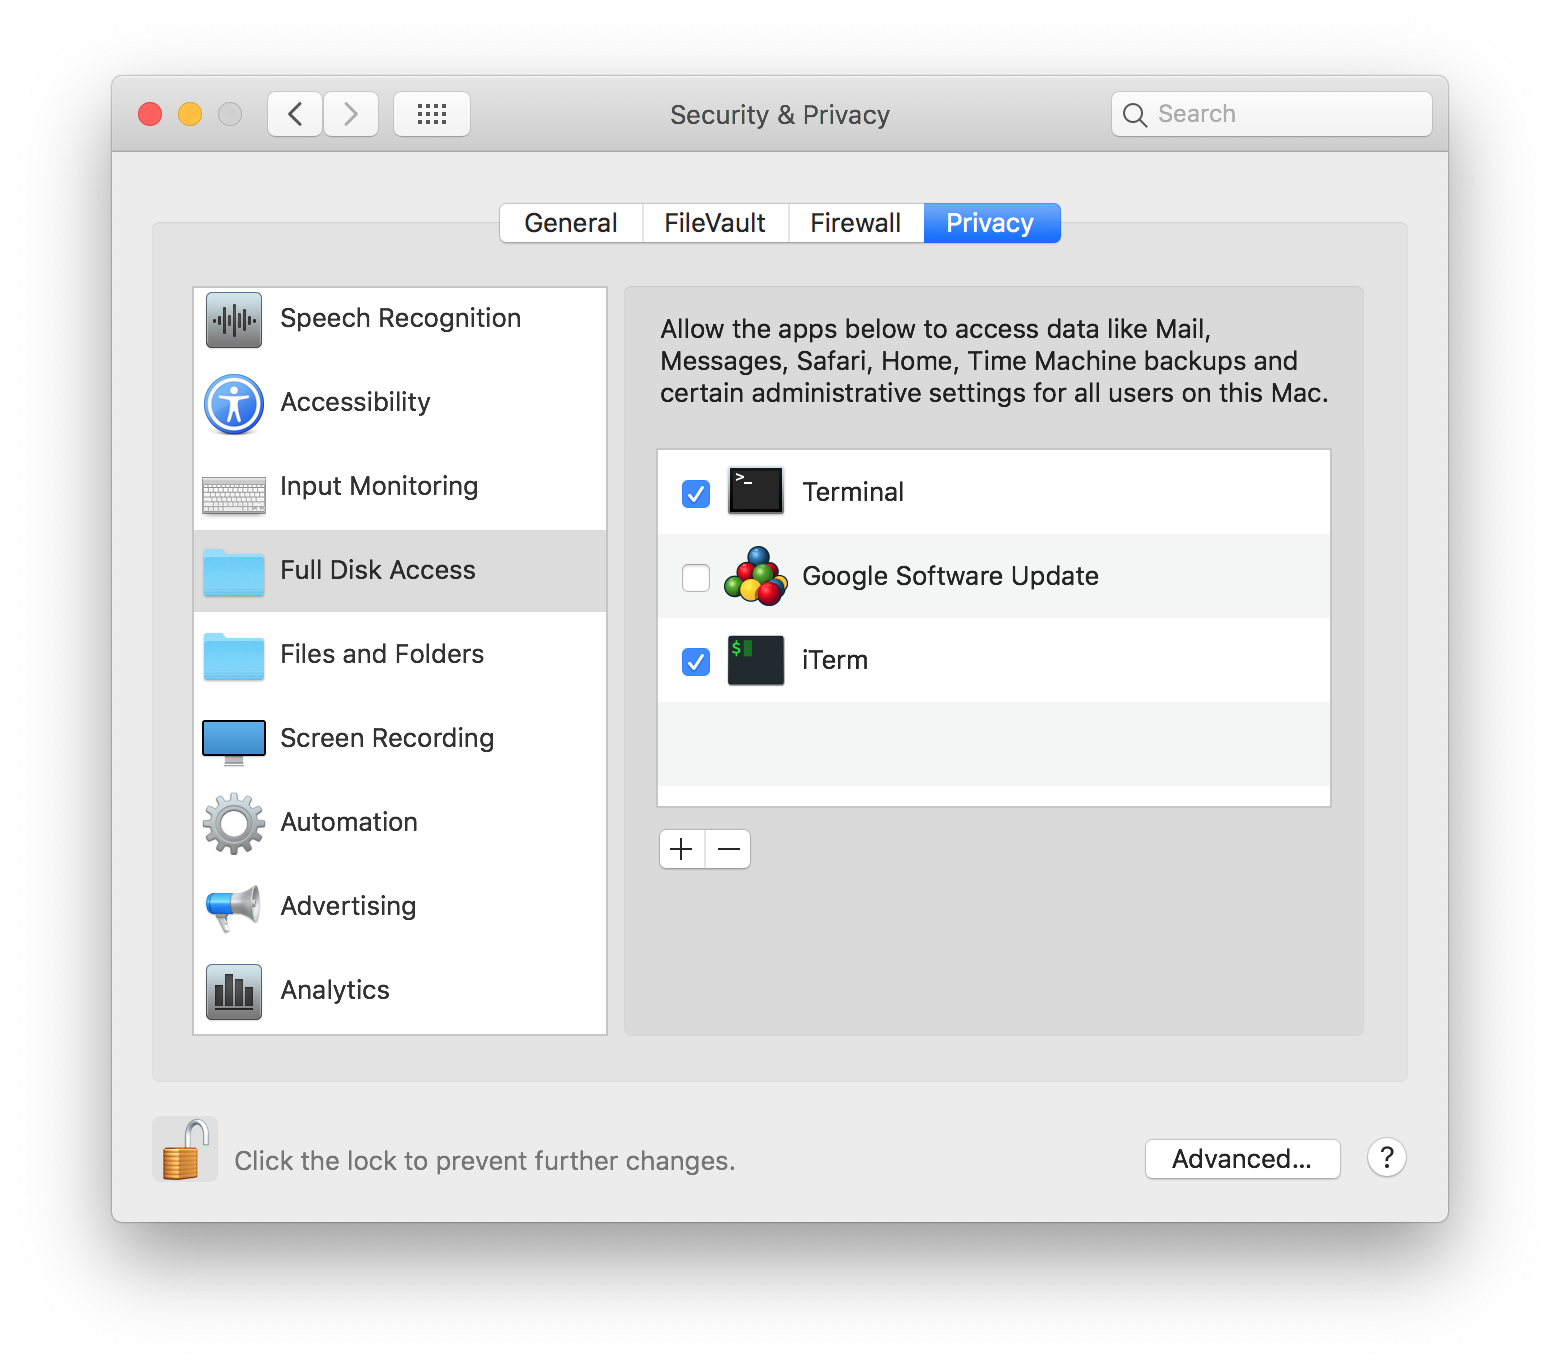
Give full disk access to Terminal
Go to System Preferences -> Security and Privacy and add the Terminal app to those with Full Disk Access permissions
Open Terminal
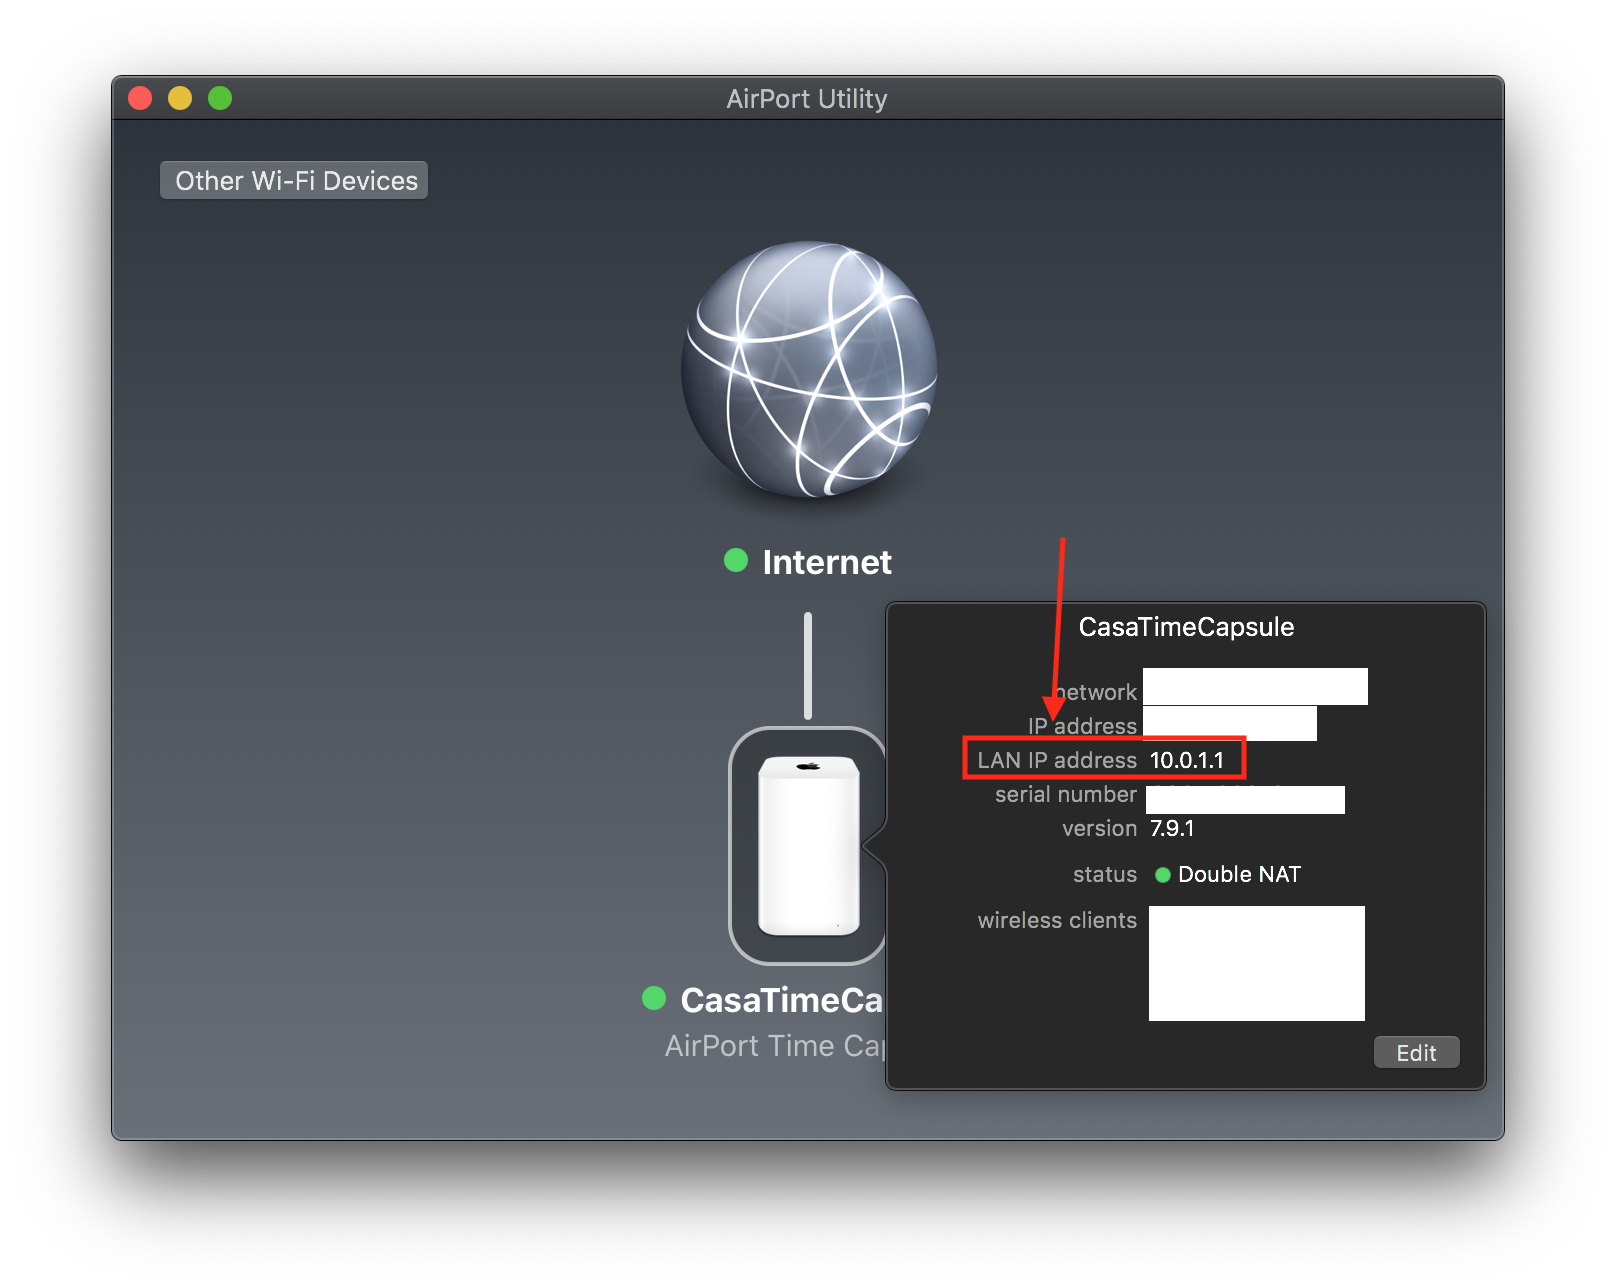
Open Airport Utility and take note of the IP of your Time Capsule
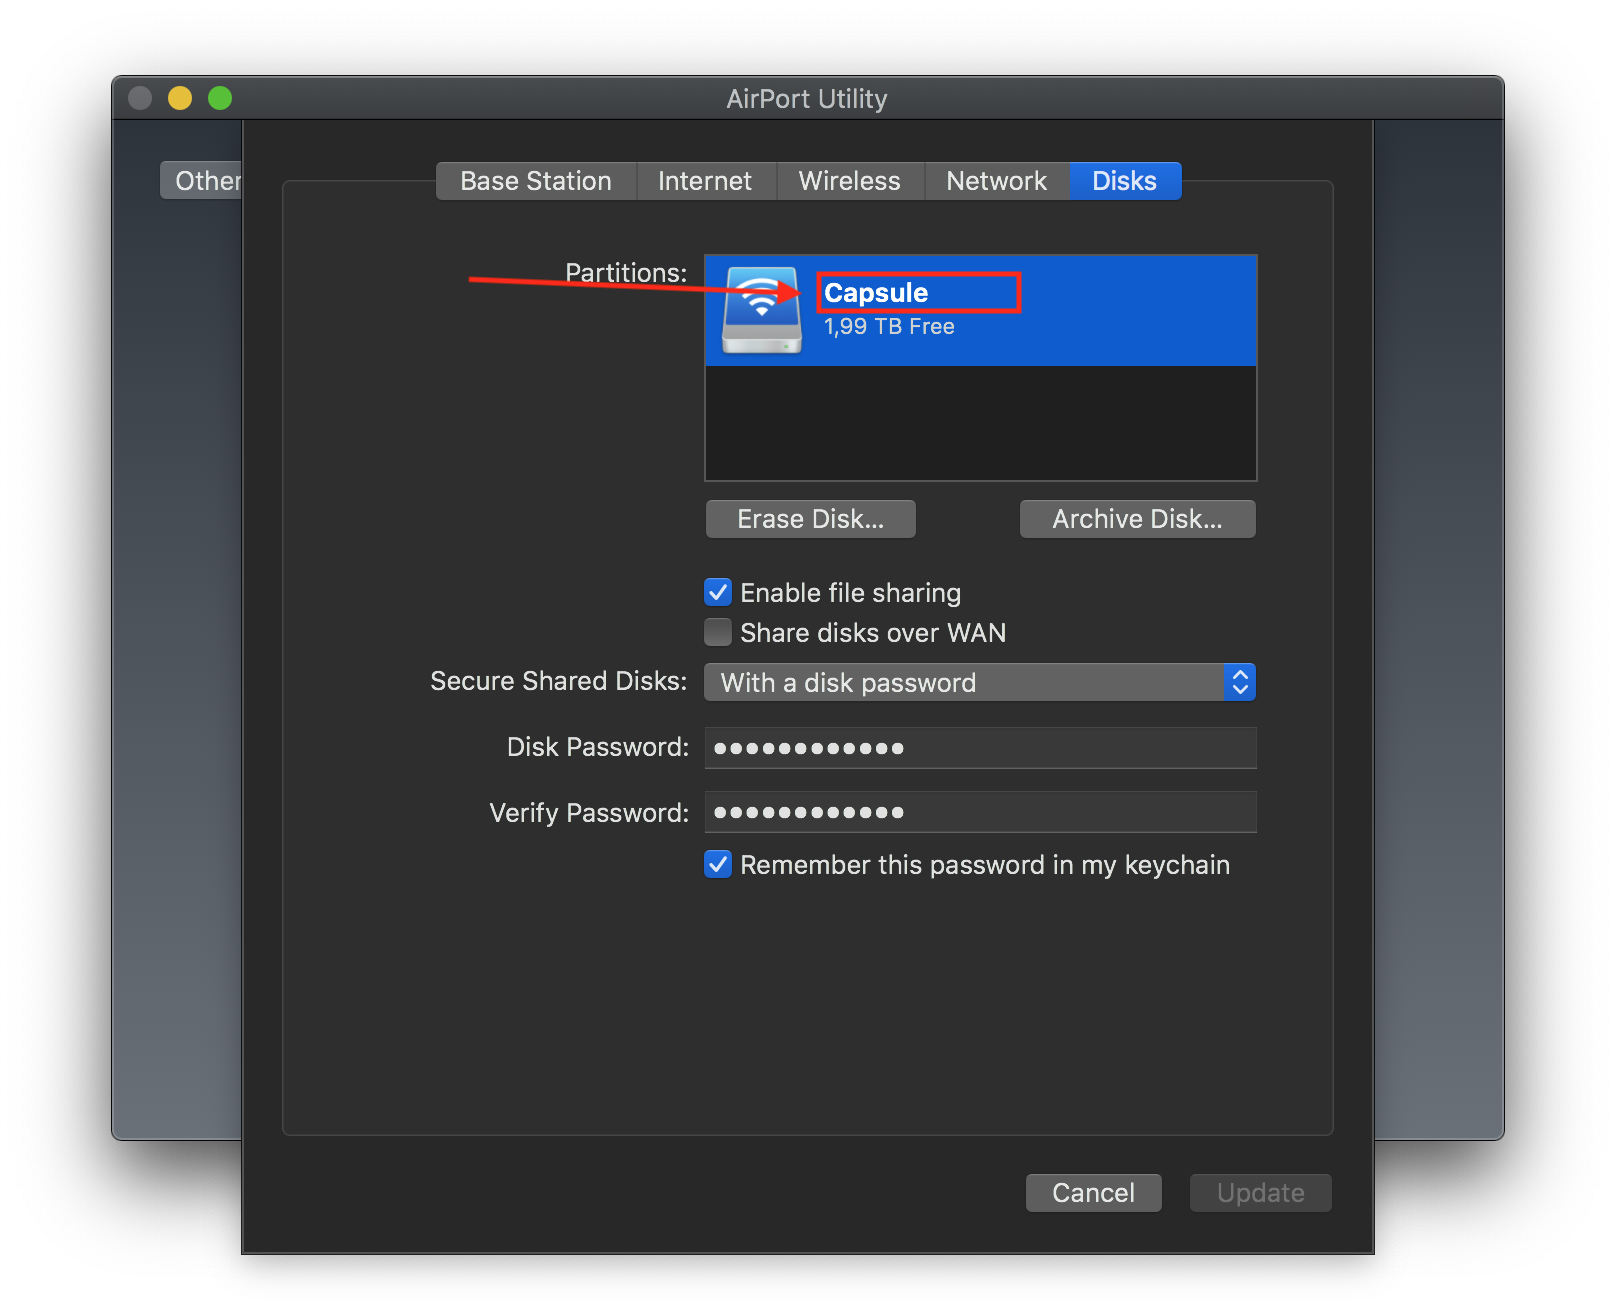
Still in Airport Utility, take note of the name of your disk
Putting the command together
Now that we have all the necessary information, we need to set the Time Machine destination manually. You need a commmand more or less like this:
1
sudo tmutil setdestination -ap afp://<<yourusername>>@<<your_capsule_ip>>/<<disk_name>>
Let’s explain it step by step:
sudo: run with admin previlegestmutil: command-line utility for managing Time Machine settings and operationssetdestination: sets the destination of your backups-ap:a- Add destination,-pprompt for password in a blind input, so that the password to access the remote disk is not recorded in the Terminal history (you can usehistory -cto clear command history, by the way)afp://<<yourusername>>@<<your_capsule_ip>>/<<disk_name>>: Connection string to indicate how to access the shared volume.yourusernameneeds to be replaced with the username that you used when configuring the Time Capsuleyour_capsule_iphas to be replaced with what you got in step 3disk_namehas to be replaced with the name of your disk, that you got in step 4.
Run the command in Terminal
Your command should now be something like this. Run it in Terminal.
1
sudo tmutil setdestination -ap afp://joaorocha@10.0.1.1/Capsule
Final Result
The remote capsule disk should now appear in the GUI and you should be able to start a backup: